Peplum Waist Skirt for GIRLS
I hope you all are enjoying a beautiful summer day! We are heading to the beach tomorrow - so instead of packing today - of course I'm sewing a last minute item for my daughter to wear :) Nothing like sewing when the kids are napping (after their fun day on the slip-n-slide)! The heat just wears them out!
I thought you'd enjoy making this so I wanted to share it with you! Happy Sewing!
Tutorial: How to sew a peplum skirt
1. Gather materials: fabric for skirt, fabric for peplum, pins, scissors, thread, fabric marker, iron, sewing machine
**I am making a size 4T. Adjust the measurements as suggested in steps #2-4 to make it fit your daugther.
2. Measure your child (or use a skirt she already has to figure out the final length and her waist measurements)
*My daughter's waist is 19 inches
*I want the final length of the skirt to be 10 inches long.
3. Add 3 inches to the length. (I did 10+3=13)
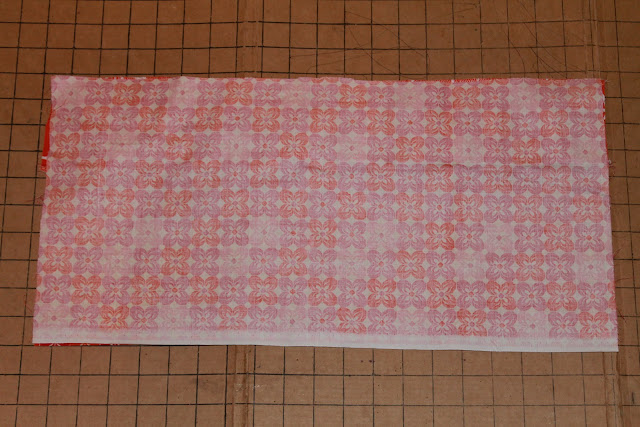
*So for daughter's skirt fabric I will cut TWO PIECES that are: 13 inches long x 19 inches wide.
4. Cut your peplum fabric to be 4 inches long x 38 inches wide (or double her waist measurement). My peplum only goes on the front of the skirt but you can do yours on the front and the back. Just cut two pieces this size. (HINT: If you are making a larger size skirt, you can always make a 5 or 6 inch peplum to make it longer.)
6. Lay your skirt pieces right sides together and cut off 2 inches from the top. SAVE THESE to make the waistband afterwards.
7. Hem the bottom of your peplum strip. I serged it and left it as is but you can hem it 1/4 inch then another 1/4 inch, pin and sew the hem - or do a rolled hem.
8. Lay one skirt piece right side up. Gather your peplum strip to the width of the skirt piece and pin in place with the raw edges touching. The peplum will be right side up. Very important! I started pinning mine right sides together and had to undo it. Make sure you are looking at the right side of the peplum.
9. Sew peplum in place using a 3/8 inch seam allowance.
10. Lay your skirt pieces right sides together. Pin down both sides.
11. Sew down both pinned edges using a 3/8 inch seam allowance. Trim threads.
12. Lay your waistband piece right sides together and pin at the short ends.
13. Sew using a 3/8 inch seam allowance. Trim threads.
14. Place your waistband inside your skirt with the right side of the waistband facing the wrong side of the skirt. Match the side seams and pin the waistband to the skirt. (See how the right side of the waistband is touching the wrong side of the skirt?)
15. Sew using a 3/8 inch seam allowance. Trim threads
16. Flip waistband up and press seam allowance up with an iron.
17. Fold over a 1/4 inch hem towards the wrong side of the waistband edge.
18. Fold the waistband in half and fold it down to cover the peplum seam. Press with an iron. Pin in place.
19. Sew along the pinned edge as close to the waistband double fold as you can but STOP SEWING 3 inches before your starting point.
20. Cut a strip of elastic 1 inch shorter than your child's waist. Insert into the waistband casing. Overlap elastic strip edges 1/2 an inch. Zig-zag stitch to secure. (HINT: I use a safety pin to snake the elastic through the elastic casing.)
21. Sew the opening of the waistband closed. Trim threads.
22. Hem the skirt 1/4 inch then another 1/4 inch, pin and then sew to secure. Then do a happy dance!! Let your little girl try it on and SMILE when it fits just perfectly!!!
It would also be super cute with a bias trim on the peplum instead of hemming it! Use a fun color and make the peplum pop!!
What have you made this summer? Comment below! I'd love to hear from you!
Have fun sewing!!
Linked to these linky parties:
CRAFT-O-MANIAC


No comments:
Post a Comment